
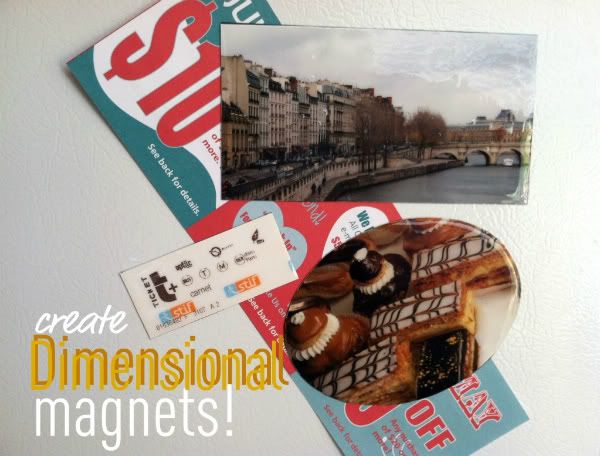
not only does it ease up on piles of pictures, BUT also makes the refrigerator way more cool, and who doesnt like cool?
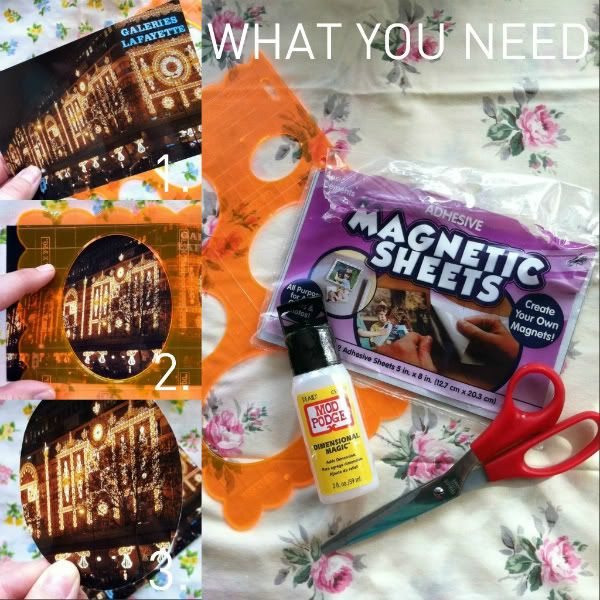
1) grab your picture, fabric, or anything you are using as your magnet. 2) draw on the back of the picture the shape you want. I used an oval stencil, but you can use any household item to create the shape you want (ie. canned food, oval picture frame, candle, etc). 3) cut out shape, and follow directions on self-adhesive magnet contact paper, found at any art/craft supply store. I bought mine from michaels.
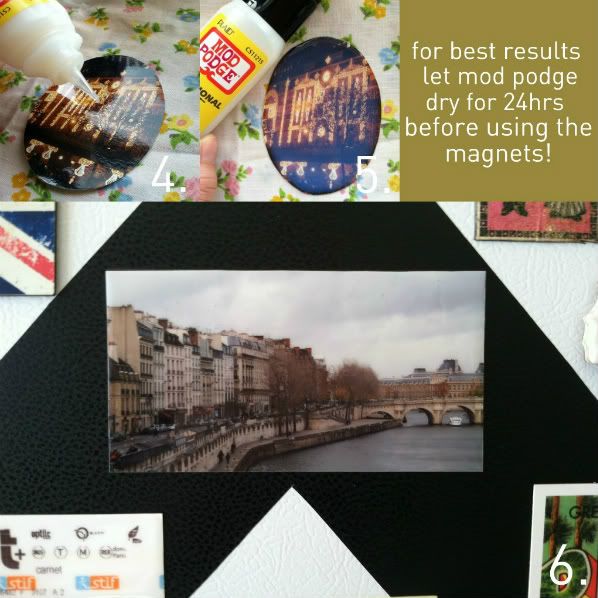
4) use mod podge dimensional magic, be sure to follow directions on how to apply. This is very important! that way you arent left with a magnet full of bubbles after its dried. 5) you will find that once the entire surface is covered with the dimensional magic it will look foggy, thats okay! It will dry clear, promise! Let it sit for at least 24 hours for best results. 6) after 24 hours, slap those bad boys on your fridge and show them off! Super easy, and a fun way to spice up your dull refrigerator.
Im super excited to get back into the blogging world as I have definitely missed it!
xo,
-Meggs
No comments:
Post a Comment